How to Build an Electron Gun (simulation)
The following post explains the electron gun app here and guides you through using it to build an electron gun. The simulation assumes cylindrical symmetry about the central vertical axis. That means that if you draw a horizontal line, you’ve really drawn a solid disk, and if you draw a vertical line, you’ve really drawn a hollow cylinder.
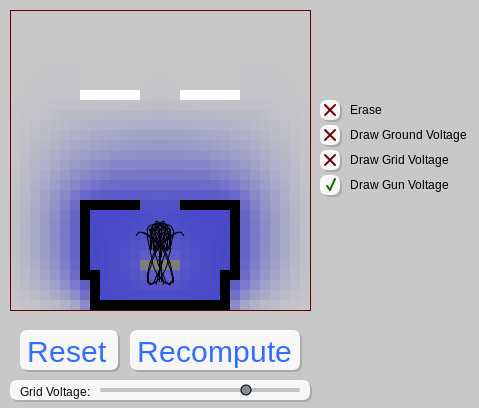
The black trajectories are electrons being "boiled" off from a hot filament. They don't have much energy and they're randomly oriented. An electron gun increases their energy and also serves to focus them into a beam. We start with the blank applet:
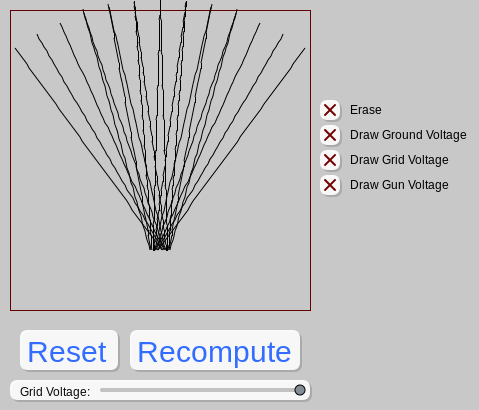
Start out by selecting "Draw Gun Voltage" and drawing a shape as follows. This is called a Wehnelt cylinder, and it's held at a very negative voltage. Electrons will try to get away from the Wehnelt cylinder and go back into a positive energy region.

Next, select "draw grid voltage" and draw a little line right below where electrons are being emitted.

Next, drag the bar that says "grid voltage" slightly to the left. Don't drag it too far.
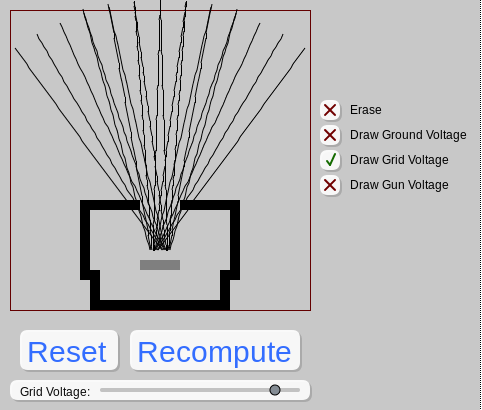
Finally, hit "recompute". The program computes the voltages all over the region and then calculates electron trajectories.
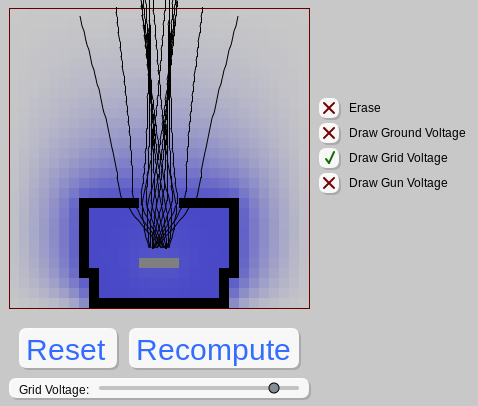
You can add a region held at ground to change the beam profile. This would make a big difference in an experimental setup, but in this simulation the edges of the computational region are held at ground anyways, so it doesn't make a big difference.
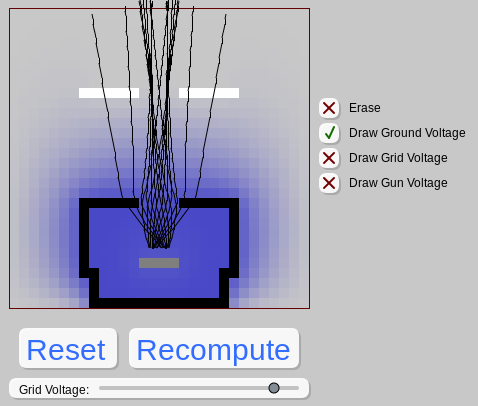
As you lower the grid voltage, the electron profile changes, and the beam gets more focused.
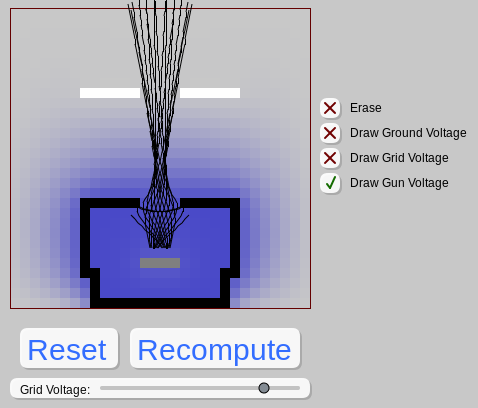
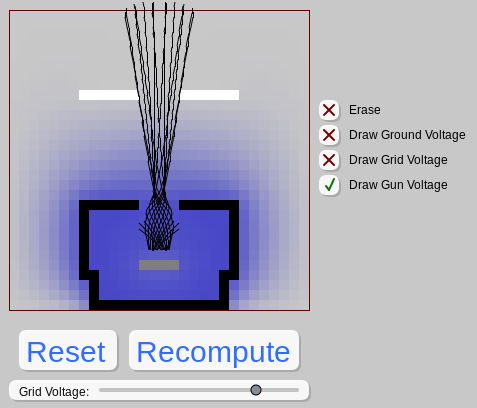
The electrons constantly try to get in a region of more-positive (less blue) potential. Once the grid voltage gets too positive, the edges of the Wehnelt cylinder push the electrons away to a greater degree than they can overcome. The electron gun has reached its cutoff voltage.
